So im brushing of the rust & here goes, hehe
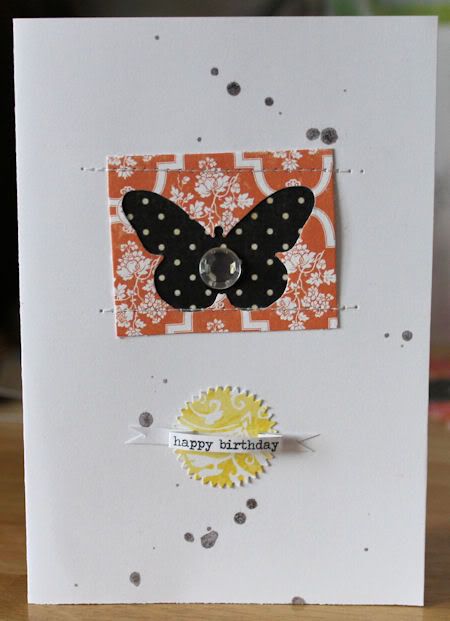
This is my card i made today & even though its a very simple card its a very pretty card, i love how it turned out!!
You will need:
~A piece of white card stock or a ready made card & envelope.
~Mist of your choice, i used tattered angels, silver suger
~some scraps of paper {i used echo park}
~Martha stewart punch's
~A sewing machine {or you can sew by hand?}
~Double sided sticky tape
~glue & smal sissor's
Starting of with a plain white card, you can either buy your card's ready made or just fold over a piece of plain white cardstock, which is what i have done here & using some mist in an old pizza box base!!
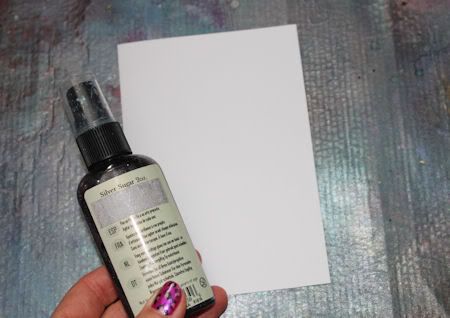
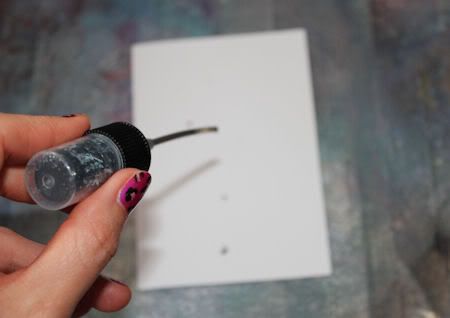
Unscrew the whole of the top of the tattered angel's bottle, & pull out the steam, this is how i do my splatt's, because i dont get any surrounding mist that i dont want & because i can control where the splatt's are going more
Select your chosen pp's
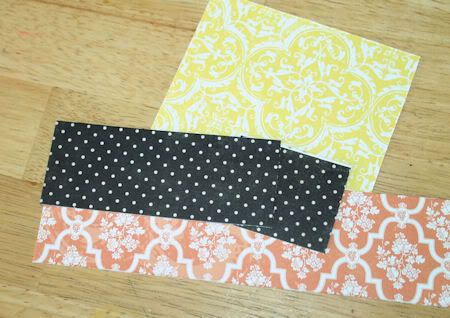
& punch out your chosen amount of image's
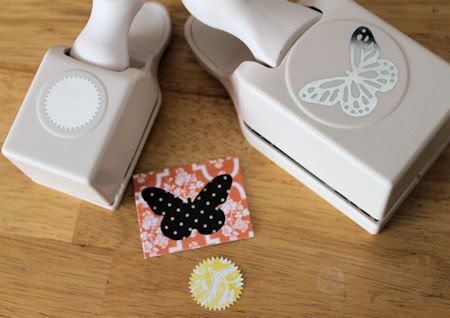
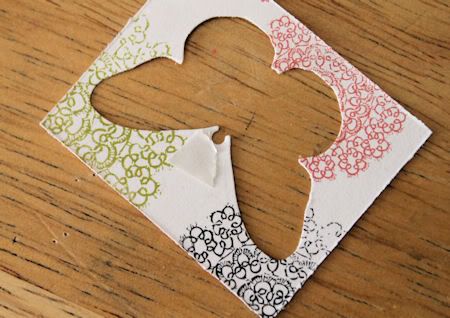
On the back of the butterfly pp i used a small piece of double sided sticky tape just to anchor it to the other piece of pp so it make's it easier to keep a hole of the pp's when stitching later in the tutorial
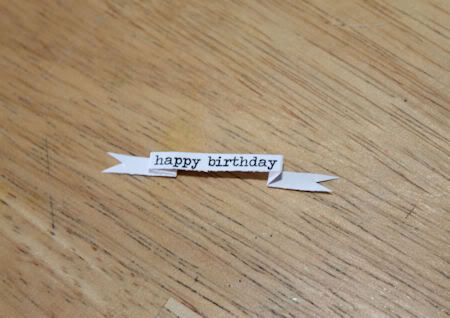
Then using my printer, i printed out my sentiment "happy birthday" & cut to size, next i folded the card in at either end like this
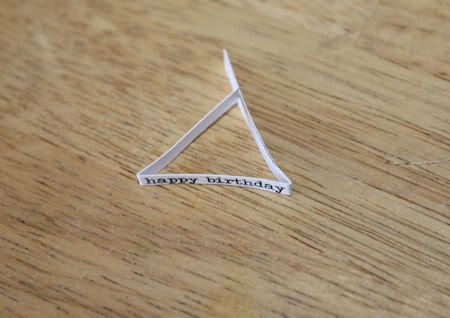
& then back out again, like this
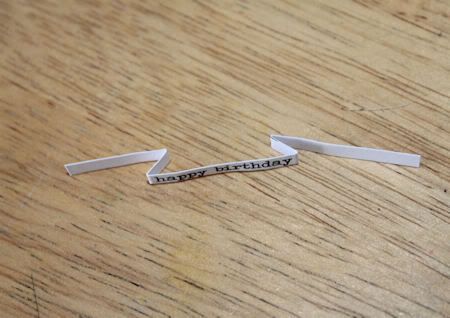
& then using small sissor's, cut out a "V" at either end like this
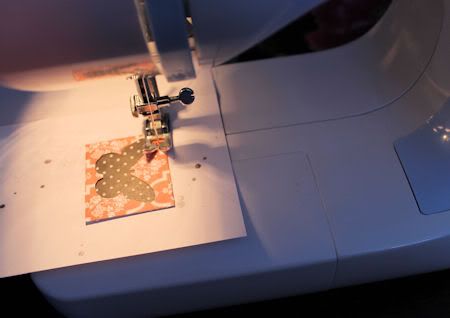
So next i used a small anchor of double sided sticky tape again on the back of my butterfly, stuck it to my card & sewed in straight on to my card like this
& placeing everything else on my card along with a large rhinestone in the centre of the butterfly my card was made!!

I hope you like my card tutorial today & if you have any question's, please ask!!
{{{hugs}}}
Sarah xx

great tutorial! and your nails are pretty hot, too! lol =)
ReplyDeletexoxo
Thanks i did my nail's myself! hehe
Deleteawesome tutorial sarah, love your card!
ReplyDeletelove your card!..must get that butterfly punch!
ReplyDeleteYou can post that card to me ;) Love it. Great tutourial too =)
ReplyDeletehugs Maja
sure hehe
Deletexxxxxxxxxxxx
Super cute card using one of my most favorite punches ever...the Martha Stewart pinked circle!
ReplyDelete